


Google Analytics is a very robust program that offers many different statistics and information about your website. One way to sift through all of that data is to set up dashboards. Google Analytics Dashboards can give you a quick glance at the specific stats that you want to see. You can even set up multiple dashboards for different reports or the needs of different roles. Here are step by step instructions on how to set up a Google Analytics Dashboard.
-
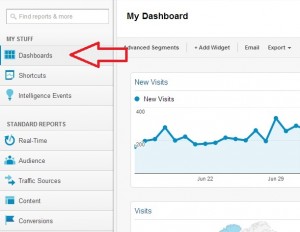
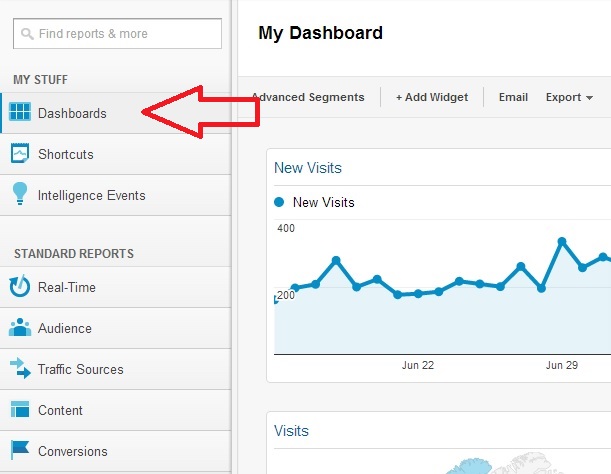
- Once you have logged into your Google Analytics account, click on the Dashboards section indicated by the red arrow.
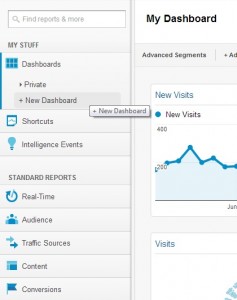
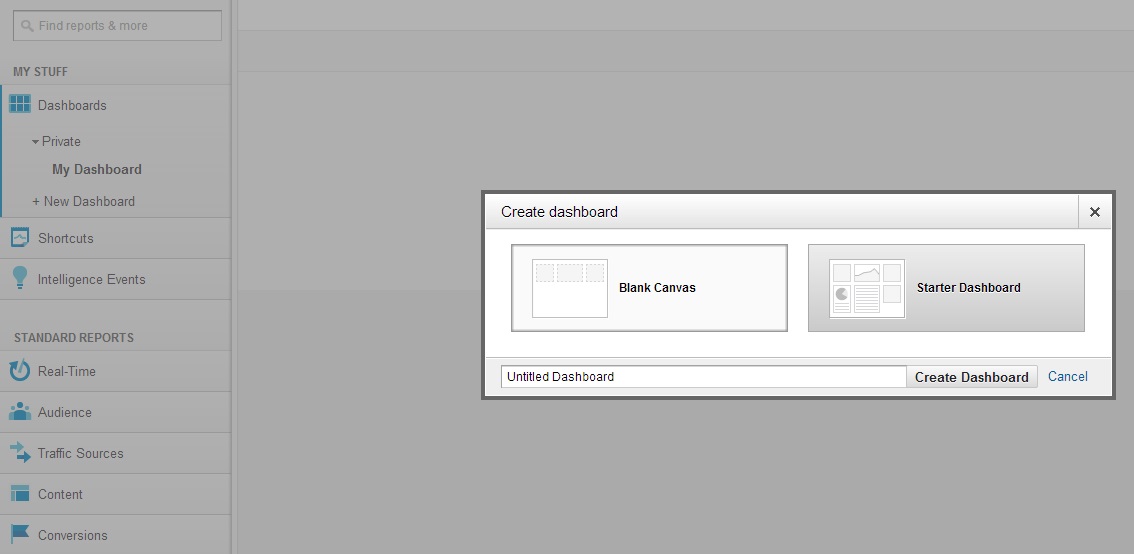
- Select to add a new dashboard.
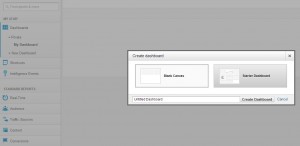
- A window will pop up and give you the option of starting with some default popular metrics; more advanced users can start with a blank slate.
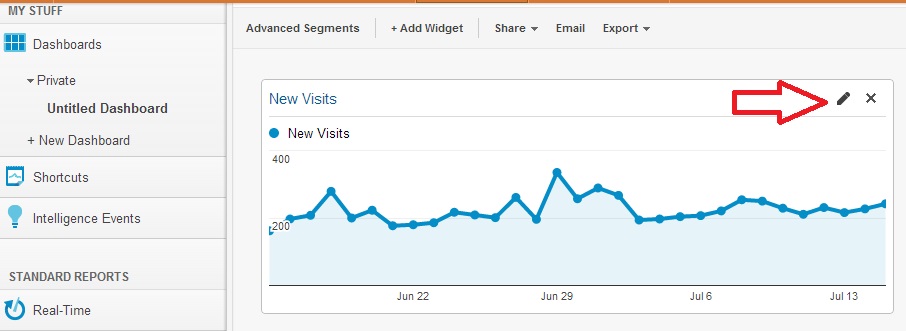
- If you choose Starter Dashboard, you can remove any metrics you do not want by clicking on the X indicated by the red arrow.
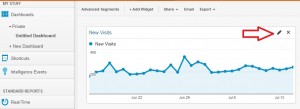
- You can also move the widgets around so that you can have everything in the order you would like to see it in.

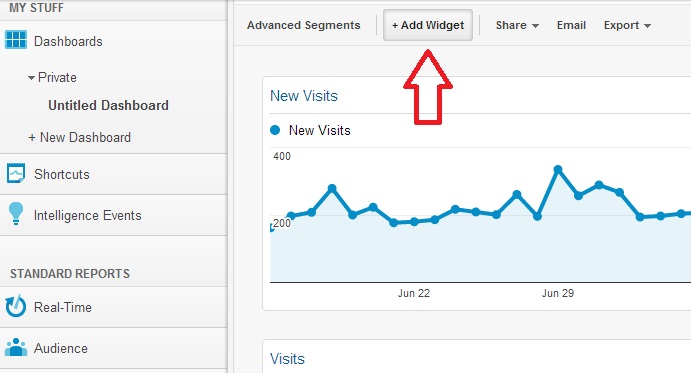
- If you want to add additional metrics, you do that by adding widgets. Click on the Add Widget button indicated by the red arrow.
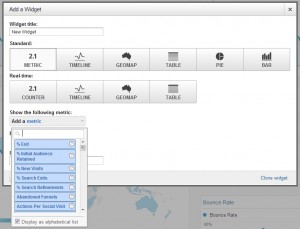
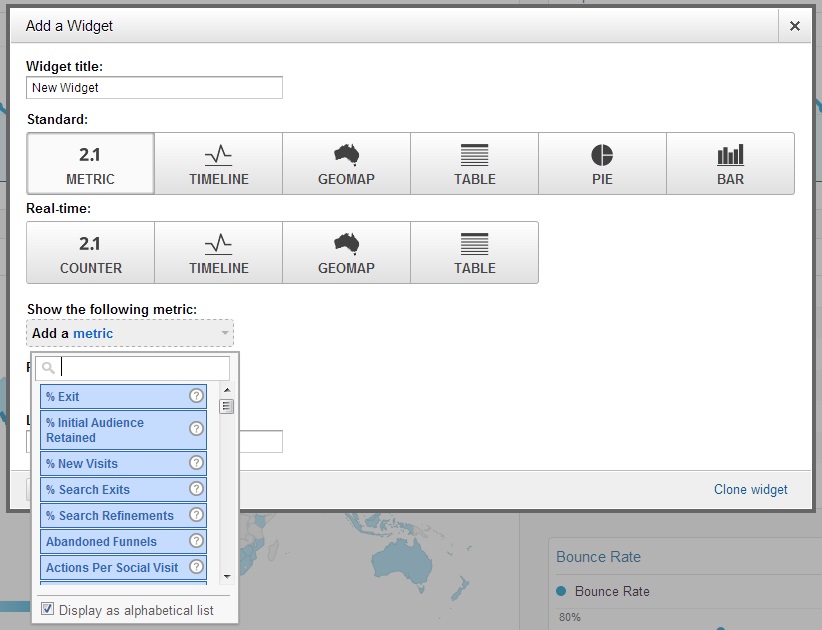
- A new window will open and give you all the different widget options to choose from. The drop down menus allow you to add existing metrics or customize your own.

- Once you add your chosen metrics and arrange them in the order you would like, Google Analytics will save the dashboard for you and you can access your customized statistics and metrics quickly and easily at a glance.
- Once you have logged into your Google Analytics account, click on the Dashboards section indicated by the red arrow.


If you require further information or have any specific questions, don’t hesitate to give a member of the GoPromotional team a call on 0800 0148 970 or simply email us today.